Wow, look at all these posts in a few days! :) I love when I have this much to blog!
The weather here in Utah is still super nice. I am just waiting for the cold to come. I am so not a winter person, but I do love the fall! So hopefully the crisp temperatures will last a little while before the bitter cold comes. Doesn't usually work that way here though. So we'll see.
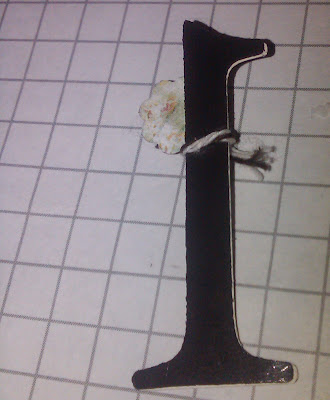
I did day number 1 for my countdown calendar last night. It took me a while to figure out exactly how I wanted to do it. I did know that I wanted to add something on for each day instead of take something off, that way the tree gets fuller as Christmas gets closer. Then I figured that I could add the numbers each day - and that Peyton could definitely help with this part. The tricky part was figuring out how to make it work.
This is what I came up with:
I figured I can keep the numbers in a binder page sectioned for small things, to keep the numbers from getting all mixed up. And then we can pull the current day out each day to add it on. I am so excited to get this finished!!! The end product for attaching the item for each day wasn't exactly what I had in mind, but I think it will still turn out super cute.
I can't wait to keep showing you guys each day as I get them finished.
Oh, really fast, here are the supplies before I forget:
Cardstock - Early Espresso and Very Vanilla Stampin' Up!
Patterned Paper - {blue and white background} Dear Lizzy for American Crafts, {Red and Cream/Green Polka dot} The Girls Paperie, {red punched flower on 1} Stampin' Up!, {Plaid tag and blue under clear button} My Minds Eye, {flower lollie} book page
Punches - Scallop Trim border, Scallop border, Bird, Itty Bitty flower Stampin' Up!, Large Corner Rounder EK Success
Blingage - Jewel stickers Stampin' Up, Red Glitter Studio G
Ribbon - Brown Satin Stampin' Up!, Bakers Twine from my stash
Buttons - Brown Bazzill Basics, Green Stampin' Up!, Clear Itty Bitty Stampin' Up!
Ink - Early Espresso Stampin' Up!
Magnet Sheets - QuicKutz
Die - QuicKutz
Before I had my Big Shot, I had the QuicKutz manual die cut machine. I am glad I upgraded for sure. But I am still able to use all my old dies, because they are compatible. So I don't feel like what I invested into my QuicKutz was a waist for sure. I got the magnet sheets at a convention a few years back and have only used it a few times, so I have plenty to complete my project! And the sheets are super thin so they are very easy to die cut. It makes it super nice to work with. Plus as I mentioned above, it's adhesive backed, which makes it all the better!!
I love that Day Light Savings is over! It was nice to have the extra hour today! Hope you all enjoy the rest of your Sunday. I will certainly do my best to do the same!


0 comments:
Post a Comment